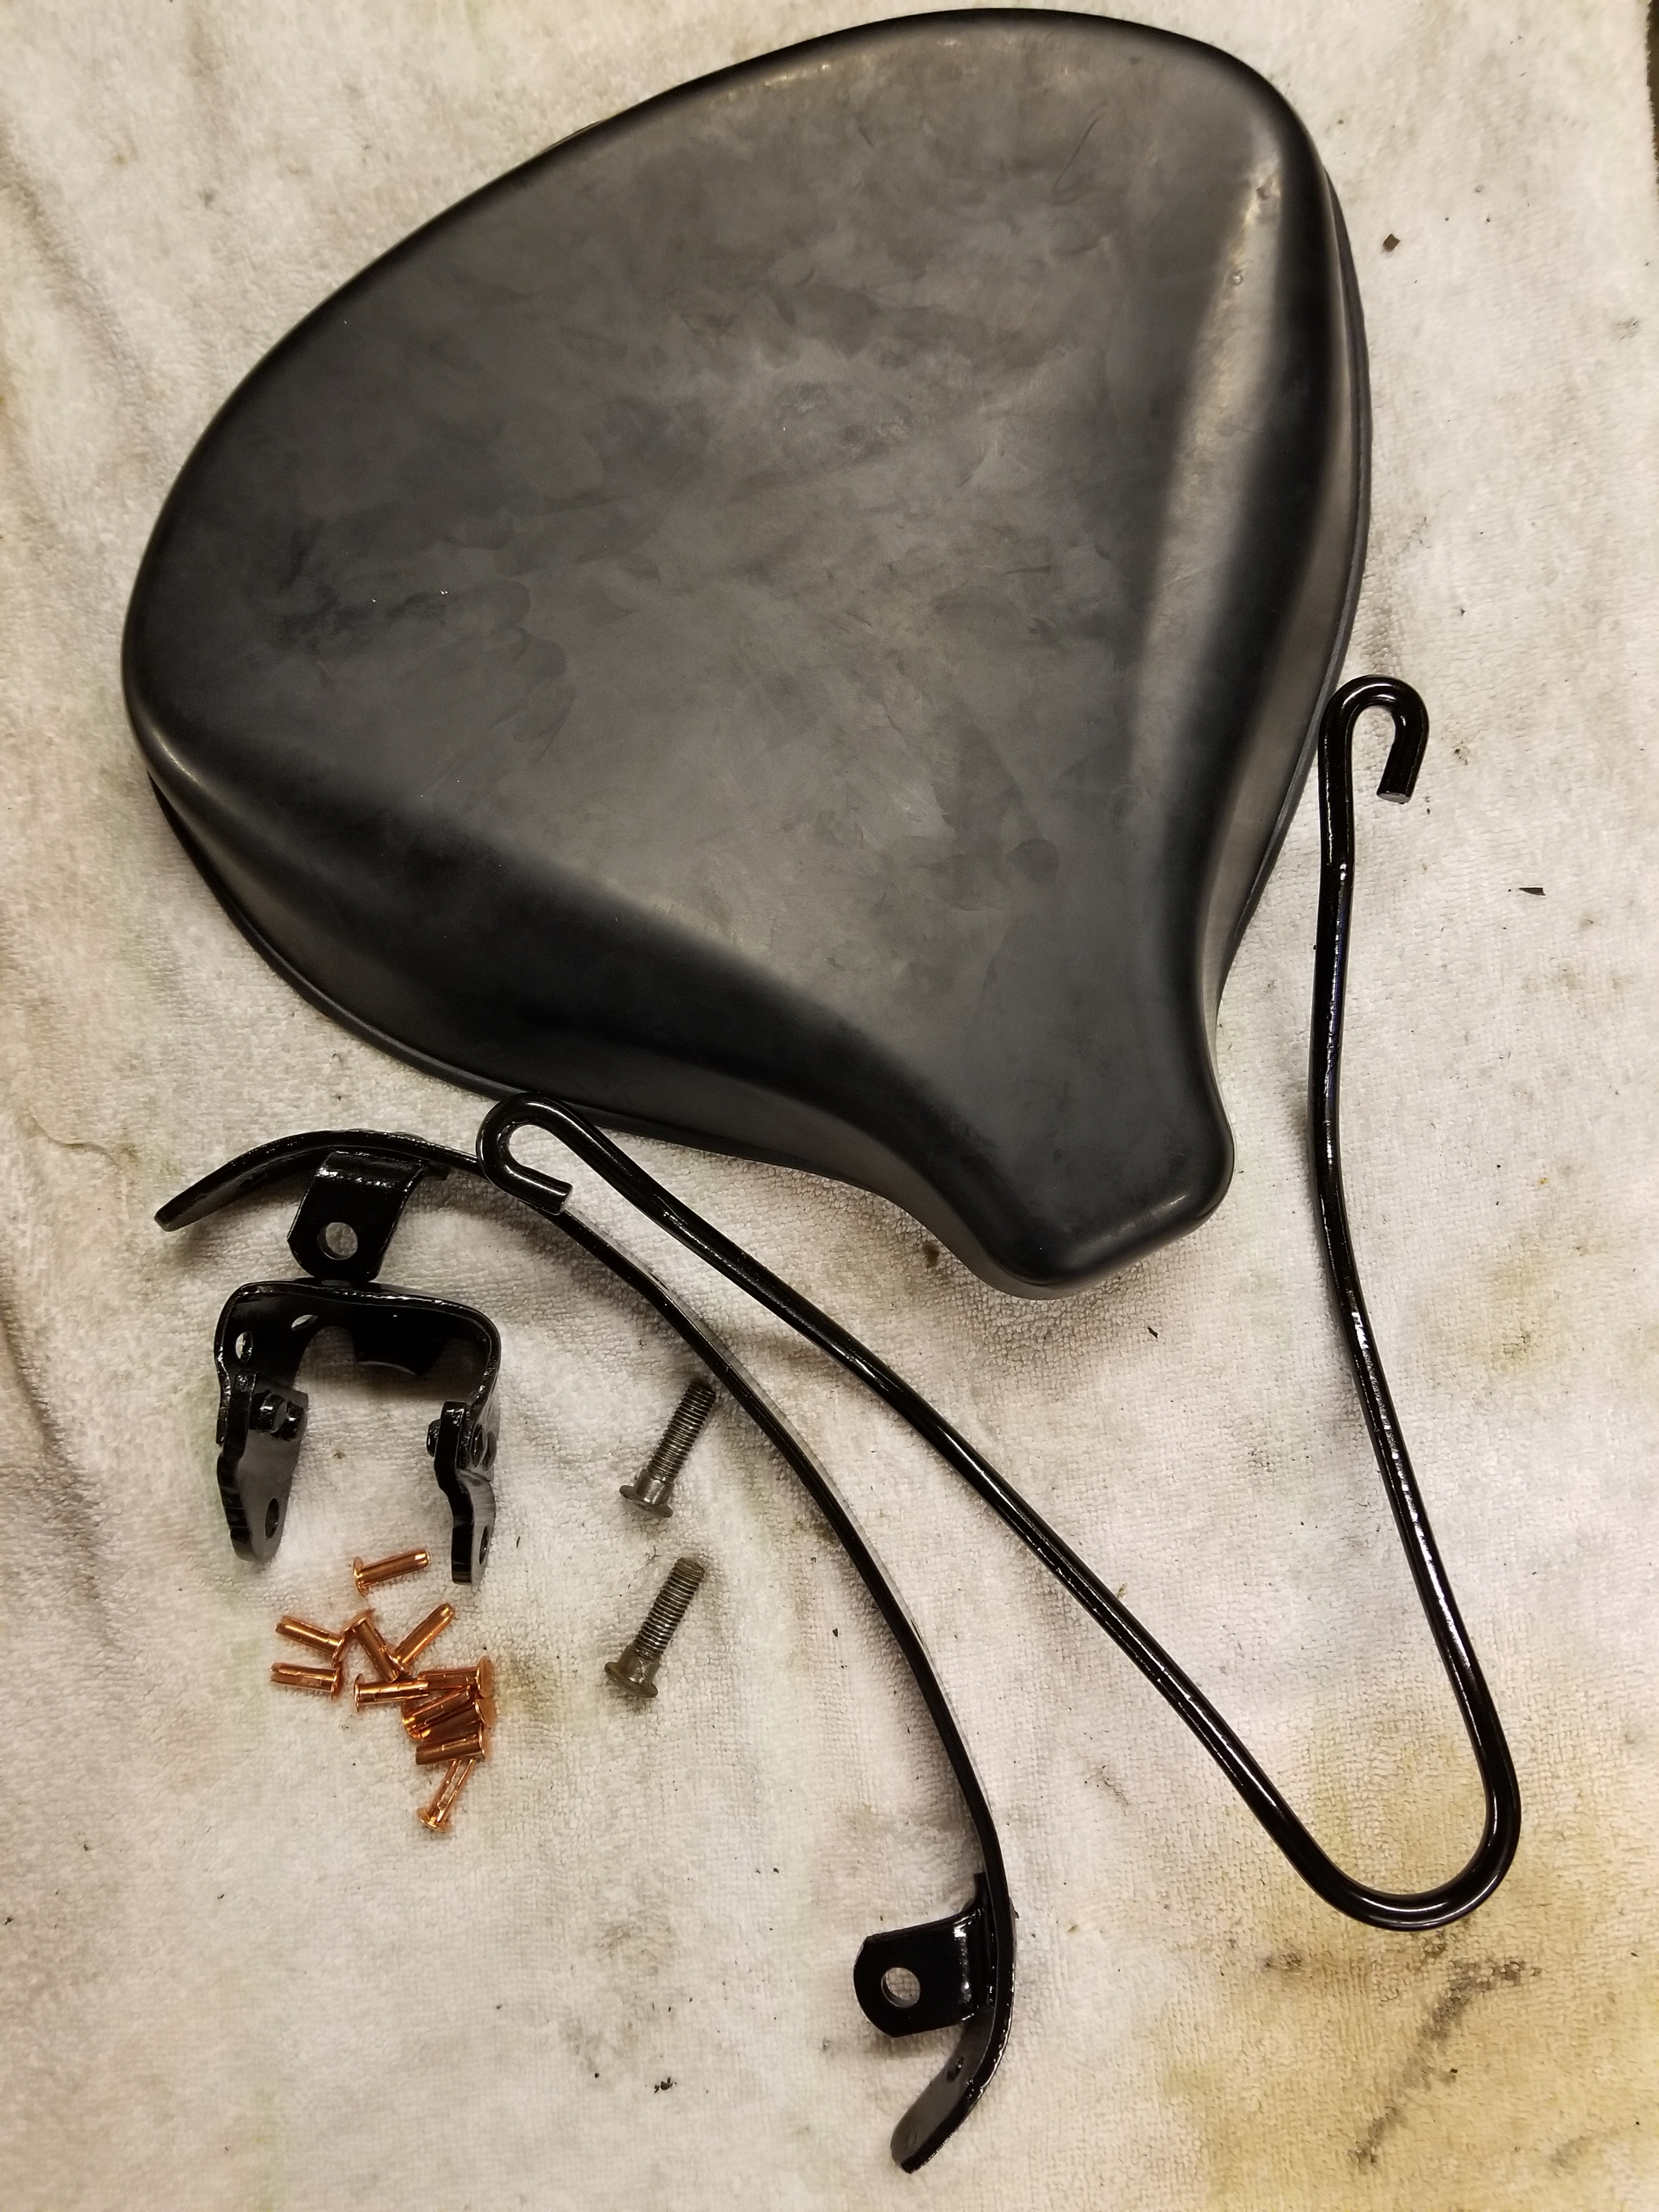
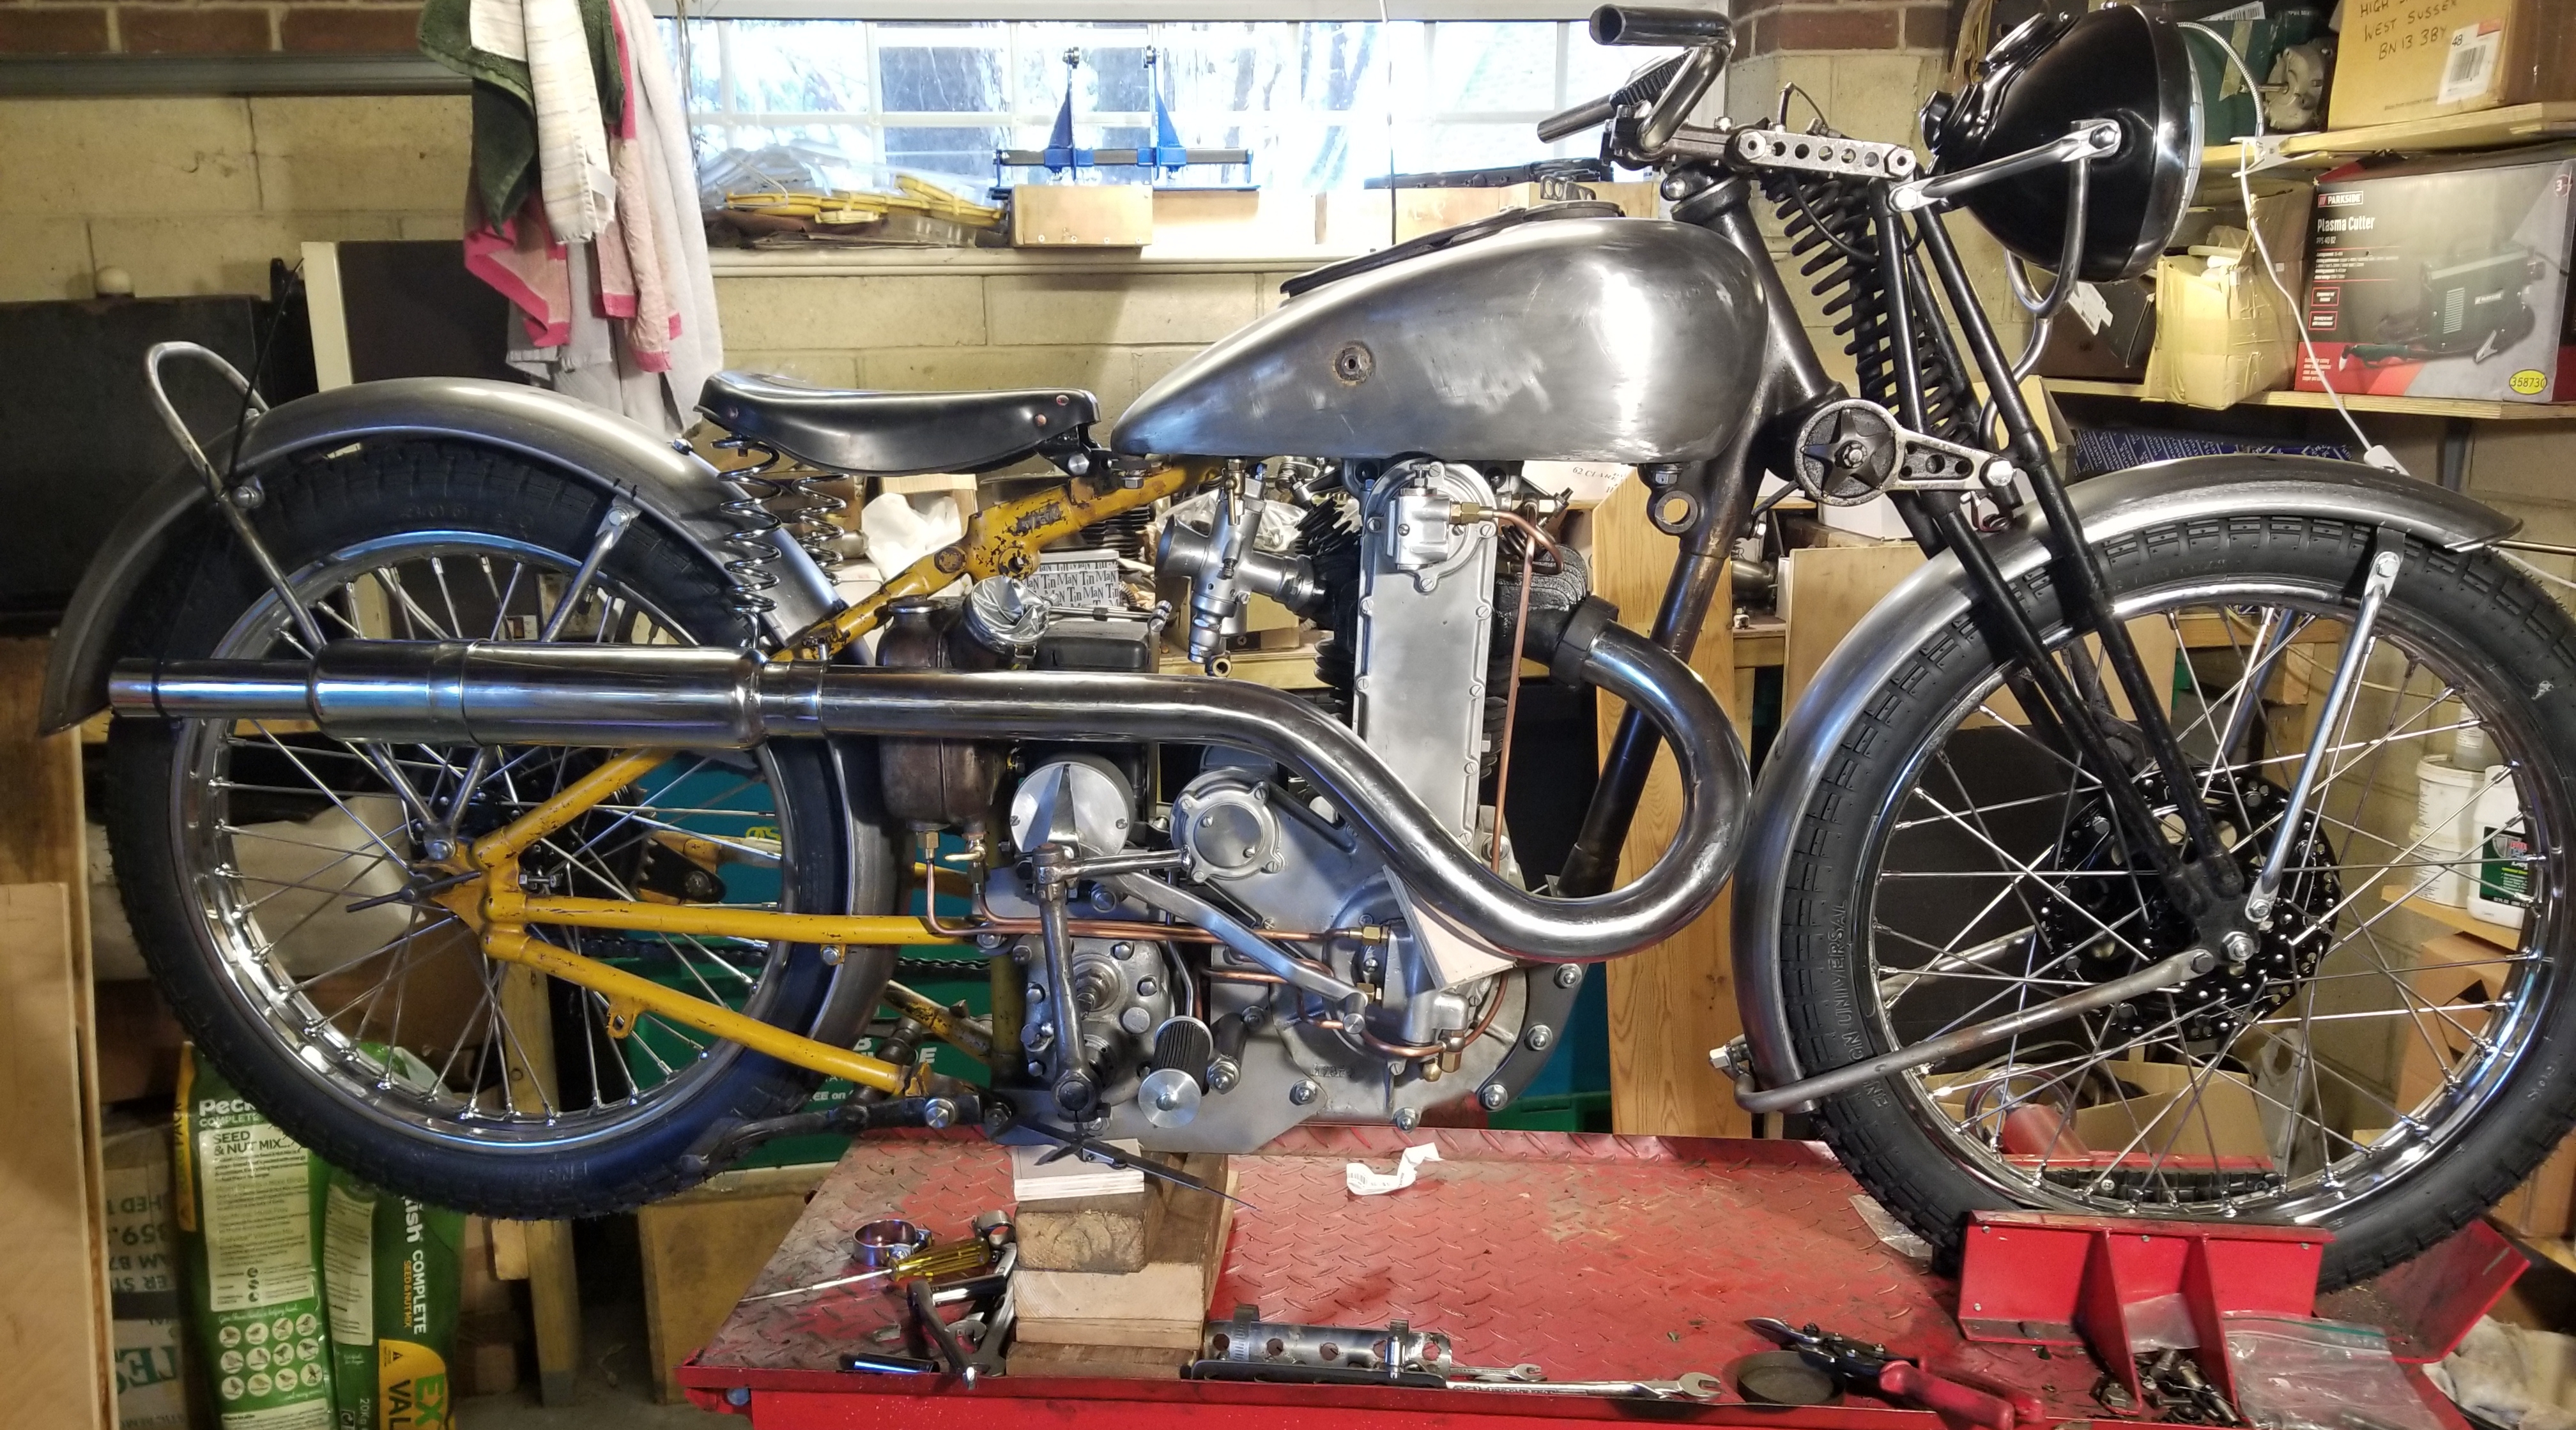
At this stage the dry build was essentially complete and ready for stripping back to the last nut and bolt. It takes considerably less time to take the bike apart than to build it: It took around 11 months to build it and 2 days to strip it!

In the picture above, the parts have been separated into 4 boxes. From right to left these are: parts for powder coating, parts requiring other finishing (chemical blacking, zinc chromate plating or 2-pack paint for the oil tank), chrome plating and parts requiring no further work. The parts for chroming were delivered to Castle Chrome https://castlechrome.co.uk/ and to Autoblast https://www.autoblast.co.uk/ for powder coating. I have only had good experience with both of the companies.
As with previous projects, I plate the smaller components myself. The plating bath was set up


....and after a few days of the bubbling plating bath:

Another small job was engraving the positive-stop gear change indicator outer plate.

Generators to Ukraine
Those that have read my previous blogs would know that we had a Ukrainian mother and her young daughter staying with us under the UK government’s Homes for Ukraine scheme. I posted this picture some time ago of Tanya, who lives in Kyiv during less troubled times, astride the V-Twin.

Tanya came to us shortly after the start of the war when the Russian army was marching on Kyiv and stayed with us until the end of October when she decided to go back to be with her family. Shortly after she returned the missile and drone attacks on Ukraine’s infrastructure started. We had kept in contact and when I asked if she was OK she said “yes, we’re fine, we have power for 2 – 3 hours a day”. That is not exactly my idea of “fine” and so I decided to try and help in a small way by providing small generators to help the people of Ukraine, the plan being to purchase petrol generators in the UK and to drive these out to Ukraine in my old Ford Transit.
I started a crowdfunding page https://www.justgiving.com/crowdfunding/generatorstoukraine to help with the finance and simultaneously starting buying generators from various suppliers. It was fortuitous that I started buying generators at the outset as I found later that stocks from many suppliers ran out and prices increased considerably.
I ended up with 16 new generators of various powers (2.2kW to 6.5kW), specifically:
6 of these:
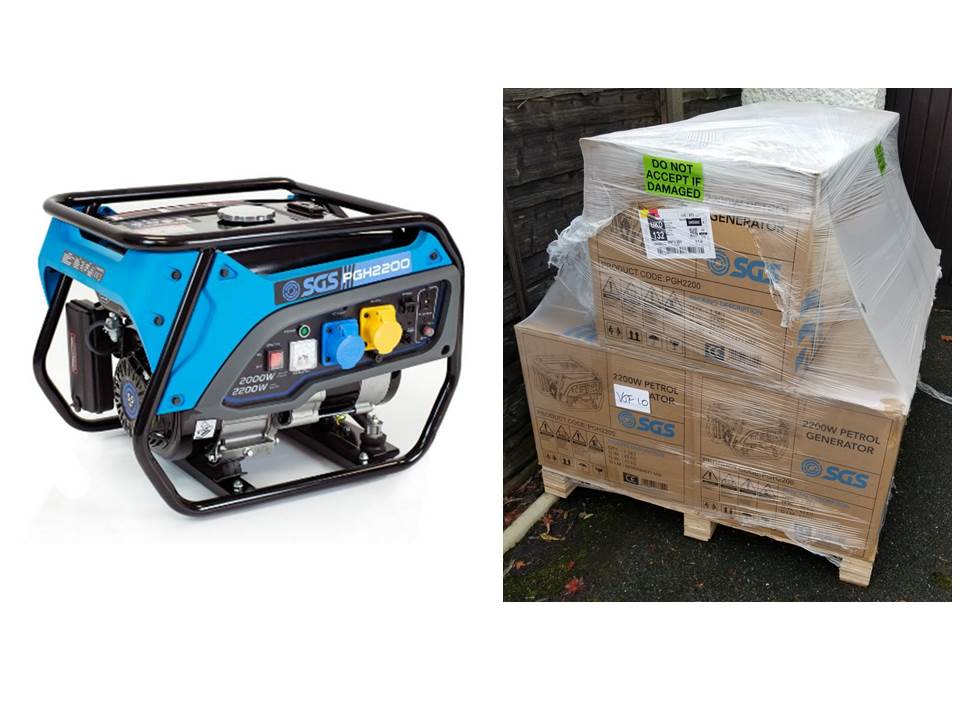
4 of these:

2 of these:


After an overnight car ferry to France and then a 3 day drive through snow-covered Europe I ended up in Lviv. We unloaded the generators at the Catholic University of Lviv (a repository for humanitarian aid)

and the van was donated to the Ukrainian military

The generators will be taken to the East of Ukraine, an area
that has suffered some of the most damage to the electricity infrastructure and
the van, which has a load capacity of 1900kg, will go to the Donbas, around 100 miles back from the front lines, for transporting supplies. I flew back to the UK from Krakow airport.
Putin: Give up now! You don’t stand a chance against a Mk 5 Transit.


_cropped.jpg)
_cropped.jpg)