Thursday, 6 August 2026

WELCOME to my blog about restoring vintage overhead camshaft AJS and Velocette motorcycles


Apologies to anyone that has come to this page expecting to see exclusively vintage AJS motorcycles .....scroll down the page a bit and you will find plenty of them.

However, I sent all of my cammy AJSs to Bonhams last year and they were sold at the Autumn Stafford Sale

The URL of "vintageajs" for this blog is now somewhat misleading but it's too late to change it and there is still plenty to read about the AJAY projects. If you happen to be the new owner of one of the bikes that I recently sold then there is plenty here to read about its build. I still have 2 early Big Ports waiting in the wings ....but they will have to wait until I've completed the Velos. 

In 2023 I started the restoration of 2 early Velocette KTTs plus another Mk 1 OHC cammy special - a few details about each of these bikes can be found here and here

A lot of work has been done on these bikes over the past 3 years and the INDEX PAGE provides links in chronological order of these projects so far.

In August last year I acquired a DOHC 250 Velo Engine. I have completed the rebuild of this engine and the dry build of this bike is also finished. Details of this project can be found in the links in the INDEX page.

I also acquired the engine, exhaust pipe and petrol tank of KTT 581 early last year. This bike has an interesting and somewhat sad history. I have rebuilt the engine and plan to put this in a bike when I have completed the existing 3 Velos - full details of the project so far in the links here.

I am now working on the final builds of all 3 Velos for which the first 2 are complete.

This is KTT 305


and the DOHC 250.

 A few more details HERE.

During the last 5 years I have posted quite a lot of information and to aid navigation the "Labels" section on the right side of this page lists the various projects.

The labels marked "INDEX" give a link to a page that provides a complete list and links to all of the separate sub-projects related to that main project.

Alternatively, scroll down this page and see what's here.

When I started this blog I owned a 500cc AJS R10
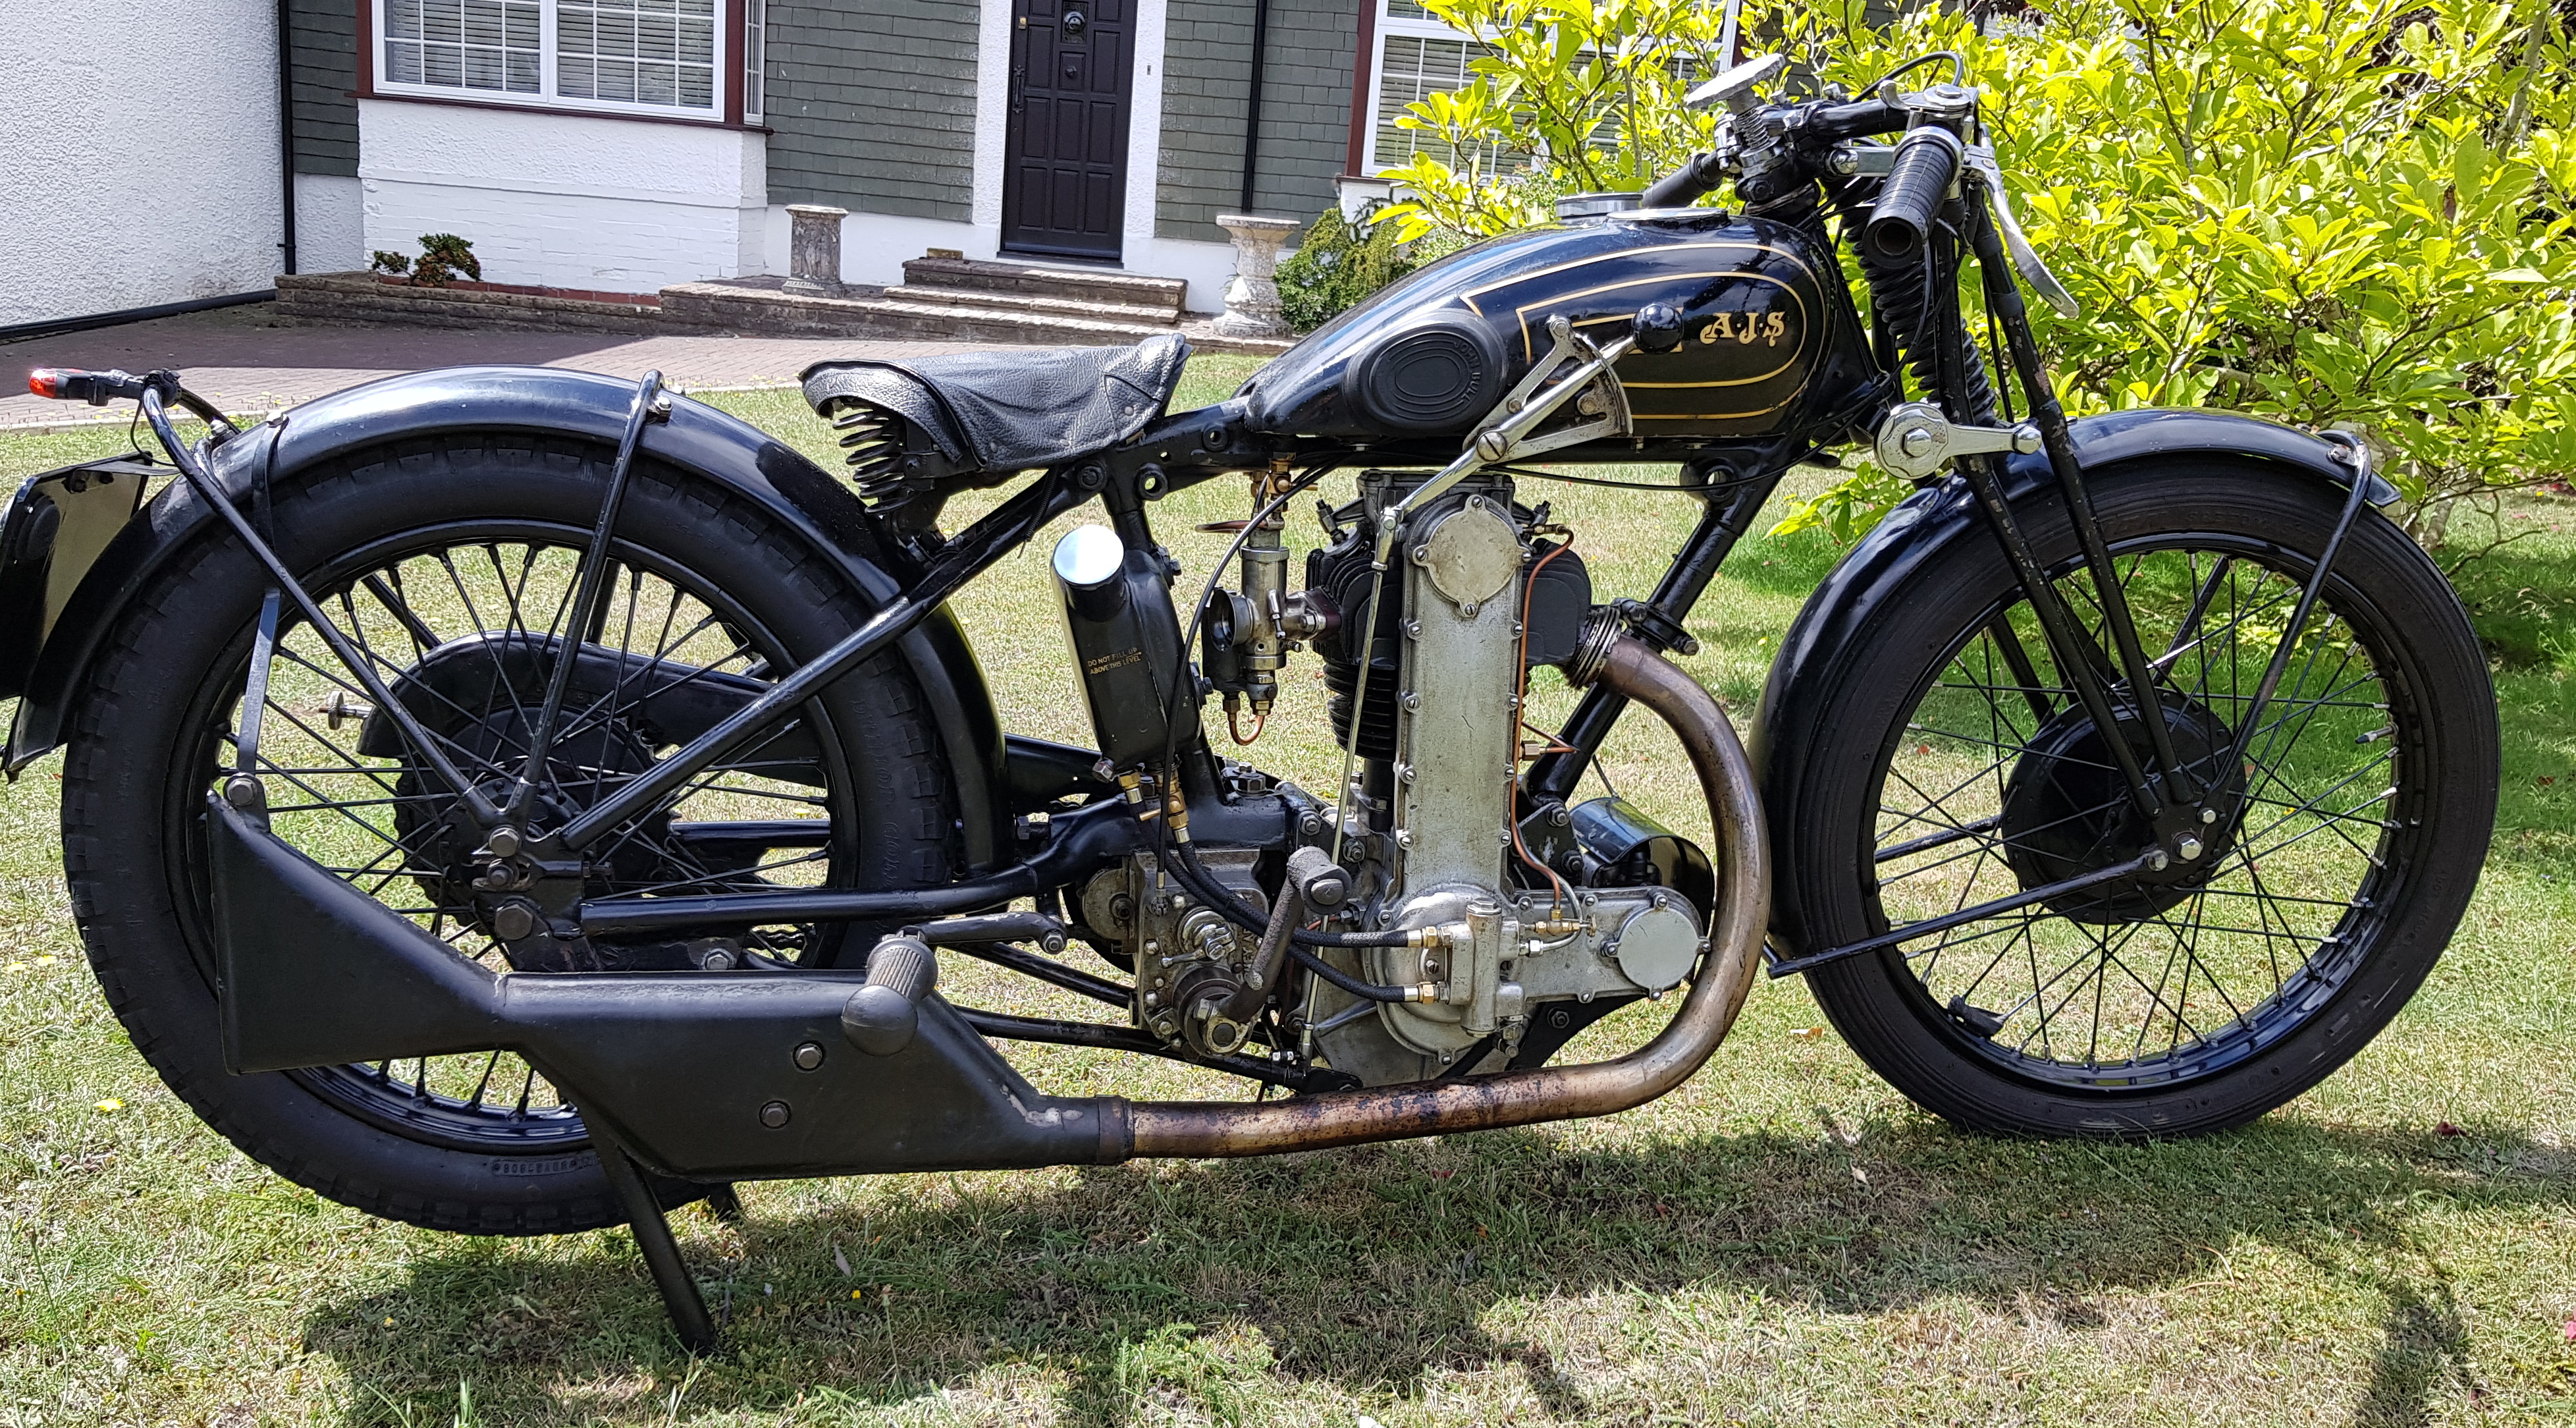

that I've been riding for many years and wanted an early 350cc bike. I bought one at a Bonhams auction; this is what I brought home....

....a bit of work was needed to bring it back to life 

Full details of the restoration can be found here.

During the restoration of the K7 I figured that I could put an early overhead camshaft Velocette cylinder, cylinder head and cambox onto the crankcases of an AJS 350cc engine from 1931, convert it to chain-driven OHC and make an engine that looks like a K7 but has a Velocette top-end. I had a 1928 350cc AJS sidevalve that I had bought on eBay and used that to create the AJcette ....giving credit to both manufacturers.

It looks pretty similar to the K7 and to demonstrate that there really are 2 bikes, here they are both together.


Details of the AJcette project can be found here.

I have quite a lot of early Mk1 OHC Velocette parts and after completing the AJcette I decided to use some of these to make a replica of a one-off bike that AJS built in 1929/1930 for an attempt on the world speed record. The original is a huge V-Twin beast that started out with a naturally-aspirated engine but, having failed to gain the record, was supercharged ...and again failed. The bike ended up in Tasmania for many years and, after being repatriated to the UK and restored, it is now in the National Motorcycle Museum.

This is what the original looked like:

and this is my recreation.


Like the AJcette, the V-Twin uses Mk 1 OHC Velocette cylinder components. The full story of how this bike was built can be found in the links here.

There is also a 14 minute edited YouTube summary of how these bikes came about here and a longer unedited version here

This bike is now in the Sammy Miller Museum.


In January 2022 I started the restoration of a 1933 AJS Trophy Model

and this was completed in March 2023.


The Index Page for this project can be found here.

I also reported briefly on a couple of my other projects ....vintage OHV Nortons


 and putting a Marshall supercharger onto my 1934 MG PA


I hope you find something of interest.

Final Builds of KTT 305 and the DOHC 250

It took a bit longer than expected to complete the final build of the DOHC 250 because the UK (and much of Europe) has experienced temperatures normally associated with the Sahara desert for many days and it has been impossible for certain jobs to be completed. Anyway, the final builds of the first 2 bikes, KTT 305


and the DOHC 250,


are now complete. I have not made any attempt to start either of these yet – that will have to wait until after the final build of the 3rd bike, KTT 55. There are also a couple of minor jobs yet to be done such as adding oil (!!) and setting the vertical position of the remote float chamber on the DOHC 250 to get the correct fuel level on the downdraft RN carburettor.  

Why has it taken a bit longer to complete the DOHC 250? Well, my powder coater first has to grit blast all of the components and he does this in a confined space (rather than a blasting cabinet) so that he can blast large structures such as a complete vehicle chassis and he dresses in full protective gear. This is a photo of the graphics from the side of his van

and it would be unreasonable to expect him to be working dressed like this in an enclosed space in the recent extreme hot weather when my car is registering 360 C ambient temperature and I’m sitting in the shade of a large apple tree in the garden drinking cold beer. 

There were quite a few more bits and pieces to go in the plating bath for the DOHC 250, mainly due to the number of external oil pipes.

The parts to be chemically blacked were completed,

the exhaust pipes for the 3 bikes came back from Dorsetware after chrome plating and polishing (they have made a stunning job and highly recommended),

the petrol and oil tanks were painted in the back garden

and the bike reassembled.

So, the last bike in this batch of 3, KTT 55, is now up on the bench for the same treatment.


Monday, 20 July 2026

Final Builds: Completing KTT 305 and Starting the DOHC 250

It has taken me around 5 weeks from stripping the dry build, completing the metal finishing – painting, plating, chemical blacking and powder coating – and putting the bike back together.


Before someone contacts me to point out that there is no exhaust pipe …..yes, I know; the pipes for all 3 of the current Velo projects are with Dorsetware for chrome plating. It’s a 5-minute job to refit an exhaust pipe when they come back from being chromed. But everything else is done and so it’s time to get on with the next bike.

The order in which the final builds are done doesn’t really matter but the DOHC 250 was nearer the door of my garage and so this was next up on the bench

 for about a day and a half before it was reduced to this

for powder coating.

There is a repeat performance of plating, painting (both tanks) and chemical blacking the other bits and pieces now underway in the workshop.

….more to come soon.


Friday, 3 July 2026

Supercharging pre-WW2 MG Midgets – 130 MPH!


A slight digression from the current bike projects….

I was recently thumbing through an ancient copy – June 1935 - of The Motor

when I came across 2 adverts relating to MGs of the period - I take an interest in these because I have one. The first of these was from MG itself advertising the MG Midget and its racing prowess

and the second was from Zoller superchargers, again advertising the speed that could be obtained from an MG Midget by supercharging.

What caught my eye was the fact that both adverts are claiming over 130 mph (209 km/h), presumably the same car and event. With a 750cc engine this will almost certainly have been a J4. I am not an expert on the different variants of MG Midgets so I have to resort to Wikipedia which tells me:

“The J4 was a pure racing version with lightweight body work and the J3 engine, but using more boost from the supercharger to obtain 72 bhp (54 kW).”

Just for the record, the “8 H.P.” referred to in the Zoller advert is not a measure of the actual power of the engine but rather a value assigned for purposes of taxation based loosely on the size of the engine – see here for details.

As anyone that has read my blog in the past will know, I also put a supercharger - a Marshall blower - on my MG PA some years ago (see here and here) which is why these articles caught my eye. The claimed power of 72 bhp is substantially more than the 42.6 bhp that we measured on the dyno after fitting and setting up the blower on my car; admittedly, I am running with around 3 – 4 psi maximum boost pressure rather than the much higher boost that these early midgets would have been using. Incidentally, the J4 engine only has a 2-bearing crankshaft whereas the PA that I have with 847cc has a 3-bearing crank.

However, 130 mph! Assuming this is not a complete fabrication (and the magazine is dated June 4 1935, so it’s not an “April Fool”), I cannot imagine being in one of these little cars at a speed even approaching this sort of figure. This is my little MG PA at a classic car event at Amberley earlier this year

and this is my installation of the Marshall compared to the Zoller in a PA.

I find that driving my little car at 55mph (on 4-inch-wide tyres) is quite exciting enough - they were brave men back in 1935!

Nevertheless, after 5+ years of driving with the blower fitted I have found it to be totally reliable and a great performance booster - especially for improved torque at lower engine speeds. Barry Walker still has these kits for sale for anyone interested.


Saturday, 6 June 2026

Completing the Build of KTT 305: Part 2 – Metal Finishing

So far, I have stripped the bike, segregated all the bits into boxes and sprayed the frame, forks, petrol and oil tanks black – see previous blog. However, there is a still a lot of work to be done in finishing the petrol tank (pinstriping. “Velocette” insignia etc) and putting “something” on the bare metal of all the other parts. There are also decisions to be made as to exactly what that “something” will be…

I have a few general rules for this; in no particular order:

      -       2k paint for the petrol and oil tanks

 -       Plating – for this era of bike I use chromated zinc plating rather than nickel (up to around 1928/9) for shiny parts

 -       Chemical blacking for parts for which it is important to retain the as-manufactured dimensions

 -       Chrome plating for post-1928/9 bike exhaust pipes

 -       Powder coating (gloss black) for the myriads of little bits and pieces that make up most of the bike

As these are my rules, I can break them! For this bike I already decided to also paint the frame and forks (rather than powder coat) – see previous blog – so that I could use high-build primer to smooth out some irregularities, but the parts for the rest of the bike have otherwise followed this format.

Please bear in mind when reading the next part of this blog about painting that although I have been putting paint on motorbikes for around 60 years (see here) I am not a professional painter and there are probably some alternative ways of achieving the same end; anyway, what I’m describing seems to work for me.

The first step in preparing the tank for pinstriping is to define the pinstripe with a piece of masking tape that is the same width as the pinstripe itself (It is useful to have masking tape in a selection of widths)

This will not follow the curve on the inside of the tape at the front of the tank (the outside of the curve is fine) – the curve is too tight - and so some judgement is needed for the next stage to maintain a constant width in this region when the pinstripe tape is bounded on both sides with very narrow masking tape (which does follow the tight curve).

The wider tape is now removed

and the part where paint will be applied is carefully rubbed down with 800 grit wet-and-dry paper cut into thin strips from an A4 sheet and using a thin piece of wood (this is a piece fashioned from a wooden garden plant name tag).

I have now applied 2k gold paint using a fine artists brush, rubbing between coats; this is quite time consuming because the paint needs to cure sufficiently between coats and I can only do one side of the tank at a time. I have put on 5 coats to avoid the black showing through.

The tape is now removed, the entire tank is rubbed down with 1200 grit wet-and-dry and the Velocette waterslide transfers are carefully affixed.

The transfers come from Classic Transfers who have been in this business for many years and, in my experience, one could not wish for a higher quality product.

It’s then back in the garden to apply 2 good coats of 2k lacquer.

It is very important to first spray 2 very light coats of lacquer on the transfers, separated by a 15-minute interval. If this is not done there is a good chance that the transfers will “crinkle up” and spoil the appearance.

After leaving the tank a couple of days for the lacquer to cure I have then flatted it with 1200 grit paper followed by polishing (I use a DA9 Dual Action polishing machine) with, firstly, G10 rubbing compound followed by polishing with Meguiar’s Carnauba polish.

Not perfect (one always sees one’s own imperfections!) but not too shabby.

By the way, if you happen to have a cylinder of Argon gas in your workshop (which I do, for TIG welding) then I always give any open tins of paint and hardener a short blast of gas before putting the top on the tin. 2k paint seems to last indefinitely anyway but hardener doesn’t, once opened, and other paints and varnishes will not form a skin if they are shielded by the inert heavier-than-air Argon gas.

I described some years ago the plating and blacking processes that I use, so only a brief summary here for this bike.

For the shiny bits, the zinc plating bath is set up

and, after polishing each part, scrubbing with “VIM” (an abrasive usually used for cleaning household sinks) with a toothbrush, fondling with soapy hands and rinsing in clean water the parts are plated for around 3 - 4 hours.

After plating, each part is washed and then dipped into another bucket containing a blue passivate solution that converts the zinc to zinc chromate.

After rinsing and polishing, these parts are finished. The picture below shows some of the copper oil pipes for KTT 305 plated in this way.

The finish is not as bright as chrome but I’m quite happy with the appearance as it is not too shiny and “blingy” for a vintage motorcycle.

The chemically blacked parts are treated using 3 separate liquids – see here.

Last, but by no means least, the exhaust pipes for all 3 bikes

have gone to Dorsetware for chrome plating. They do all the plating for Armours (who bent these pipes) and with whom I have only ever had good experience. It will be a few weeks before these come back but I have plenty to do in the meantime.

And all the remaining metal parts have gone to Autoblast for powder coating.